

Mastering the Art of Outside AC Unit Maintenance: A Comprehensive Guide
As the scorching summer sun arrives, so does the need for a reliable air conditioner. But before you switch it on and expect a blast of cool air, it’s crucial to ensure that your outside AC unit is in top-notch condition. Often overlooked, the cleanliness of this unit plays a pivotal role in its efficiency and longevity. In this ultimate guide, we’ll delve into the step-by-step process of cleaning your outside AC unit, empowering you to optimize its performance throughout the summer months.
Why Cleaning Your Outside AC Unit is Paramount
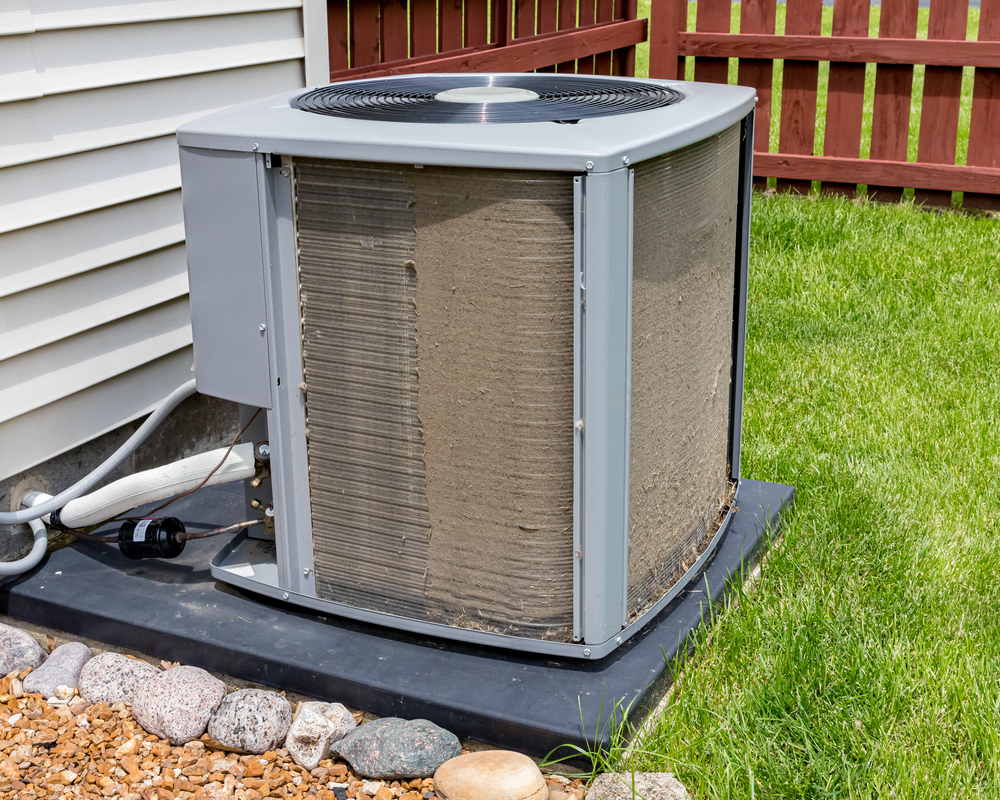
A dirty outside AC unit isn’t just an eyesore; it’s a harbinger of inefficiency and escalating energy bills. Here’s why:
- Decreased Efficiency: Accumulated debris and dirt impede airflow, forcing the unit to work harder to maintain the desired temperature. When the airflow is obstructed, the system has to exert more energy to achieve the same level of cooling, resulting in increased energy consumption and higher bills.
- Potential Damage: Neglecting regular cleaning can lead to clogged fins and coils, resulting in costly repairs or even a complete breakdown of the unit. Dust, pollen, leaves, and other debris can accumulate on the unit’s exterior, inhibiting proper airflow and heat transfer. This can cause the unit to overheat, leading to compressor failure or other internal damage.
To mitigate these issues, it’s essential to incorporate regular cleaning and maintenance into your HVAC routine.
Essential Tools and Materials for the Job
Gathering the right equipment ensures a smooth cleaning process:
- Garden Hose: An indispensable tool for rinsing off dirt and debris. Opt for a hose with a high-pressure nozzle to effectively dislodge stubborn grime.
- Soft Brush or Vacuum Cleaner: Ideal for delicately dislodging stubborn grime from the unit’s fins. A soft-bristled brush or a vacuum cleaner with a brush attachment can help remove accumulated dirt without damaging the delicate fins.
- Fin Comb: Essential for straightening bent fins and restoring optimal airflow. Fins can easily become bent or damaged, especially if they’re located in areas where they’re susceptible to impact from debris or accidental contact.
- Protective Gear: Safety goggles and gloves safeguard against potential hazards. When working with cleaning solutions or high-pressure water, it’s essential to protect your eyes and skin from irritation or injury.
- Cleaning Solution: Choose between soapy water or a commercial AC coil cleaner for a thorough cleanse. Soapy water can be effective for light cleaning, while a commercial AC coil cleaner may be necessary for more stubborn dirt and grime.
Step-by-Step Guide to Cleaning Your Outside AC Unit
A. Preparation:
Before diving into the cleaning process, prep your unit and ensure safety:
- Power Off: Disable the unit by switching off the circuit breaker to prevent any mishaps. Safety should always be the first priority when working with electrical equipment. Make sure to turn off the power to the unit to avoid the risk of electric shock or injury.
- Clear Surroundings: Remove large debris from the vicinity of the unit, donning gloves for protection. Debris such as leaves, branches, and grass clippings can accumulate around the outside AC unit, obstructing airflow and impeding its performance. Use a rake or gloved hands to clear away any debris from the area surrounding the unit.
- Safety Gear: Equip yourself with safety goggles and gloves to shield against potential hazards. Cleaning an outside AC unit can expose you to dirt, debris, and cleaning solutions, which can irritate the skin and eyes. Protect yourself by wearing safety goggles and gloves during the cleaning process.
B. Removing Debris:
Efficiently clear away loose debris with precision:
- High-Pressure Rinse: Utilize a garden hose with a high-pressure nozzle to dislodge debris effectively. Start by spraying the unit with water from the top down, working your way around the unit to ensure thorough coverage. Use a high-pressure setting to dislodge stubborn dirt and debris from the exterior of the unit.
- Caution: Avoid damaging the unit’s fins by controlling the pressure of the water stream. While high pressure is necessary to remove stubborn dirt and debris, it’s essential to exercise caution to avoid damaging the delicate fins of the AC unit. Use a moderate amount of pressure and maintain a safe distance from the unit to prevent bending or denting the fins.
C. Cleaning the Unit’s Fins:
Restore optimal airflow with meticulous fin cleaning:
- Gentle Brushing: Employ a soft brush or vacuum cleaner to eliminate lingering dirt from the fins. Use a soft-bristled brush or a vacuum cleaner with a brush attachment to gently remove dirt and debris from the fins of the AC unit. Work in a back-and-forth motion, following the direction of the fins, to dislodge dirt and restore airflow.
- Fin Comb Intervention: For heavily clogged fins, gently use a fin comb to straighten them out and enhance airflow. A fin comb is a specialized tool designed to straighten bent or damaged fins on an AC unit. Insert the fin comb between the fins and gently slide it up and down to straighten any bent or misshapen fins. Be careful not to apply too much pressure, as this can cause further damage to the fins.
D. Cleaning the Coils:
Revitalize your unit’s efficiency with a thorough coil cleaning session:
- Cleaning Solution: Prepare a solution of soapy water or utilize a commercial AC coil cleaner as per manufacturer guidelines. Mix a solution of mild detergent and water in a spray bottle, or use a commercial AC coil cleaner according to the manufacturer’s instructions. Apply the cleaning solution to the coils, making sure to cover them thoroughly.
- Application: Spray the solution onto the coils and allow it to penetrate for optimal cleaning efficacy. Once the coils are coated with the cleaning solution, allow it to sit for a few minutes to loosen dirt and debris. This will make it easier to remove stubborn buildup and restore the coils to their optimal condition.
- Rinsing: Thoroughly rinse the coils with a gentle stream of water from the garden hose to eliminate residue. After allowing the cleaning solution to penetrate the coils, rinse them thoroughly with water from the garden hose. Start at the top of the coils and work your way down, ensuring that all traces of dirt and cleaning solution are removed. Pay close attention to areas where dirt and debris may be trapped, such as between the coils and around the edges.
E. Straightening the Fins:
Fine-tune airflow by rectifying bent fins:
- Fin Comb Precision: Employ the fin comb to delicately straighten any bent fins, promoting unimpeded airflow. Gently insert the fin comb between the fins and carefully straighten any bent or misshapen fins. Work slowly and methodically, taking care not to apply too much pressure or damage the fins further. Straightening the fins will improve airflow and enhance the overall efficiency of the AC unit.
F. Reassembling and Testing the Unit:
Conclude the cleaning process with reassurance:
- Complete Drying: Ensure the unit is entirely dry before reassembly to prevent damage. Allow the unit to air dry completely before reassembling it to avoid trapping moisture inside. This will help prevent mold and mildew growth and ensure that the unit functions properly.
- Reassembly: Carefully reattach any removed covers or panels. Once the unit is dry, reattach any covers or panels that were removed during the cleaning process. Make sure that all fasteners are securely tightened to prevent them from coming loose while the unit is in operation.
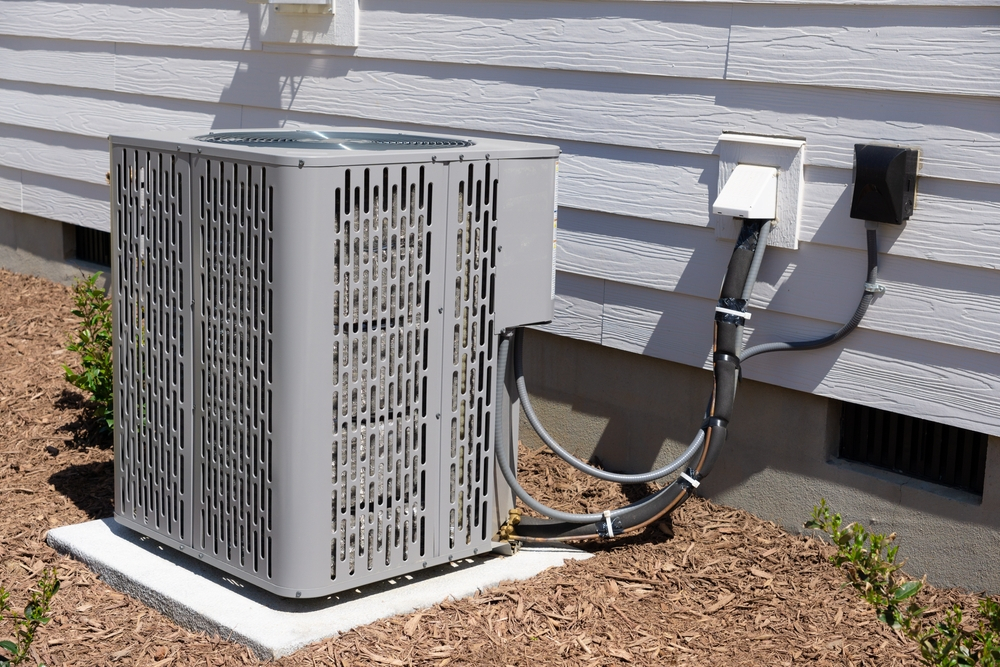
- Test Run: Power on the unit and conduct a thorough test to verify optimal functionality. Once the unit is reassembled, turn the power back on at the circuit breaker and test the unit to ensure that it is working properly. Listen for any unusual noises or vibrations and check for proper airflow from the vents. If everything appears to be in working order, you can rest assured that your outside AC unit is clean and ready to keep you cool throughout the summer months.
Proactive Maintenance Tips for Sustained Performance
Ensure longevity and efficiency with these preventive measures:
- Vegetation Management: Regularly trim surrounding bushes and plants to prevent debris infiltration. Keep vegetation trimmed back at least two feet from the unit to allow for proper airflow and prevent debris from entering the unit.
- Air Filter Maintenance: Stay vigilant with periodic air filter replacements or cleanings to maintain optimal airflow. Check the air filter monthly and replace it as needed, especially during periods of heavy use. A dirty or clogged air filter can restrict airflow and reduce the efficiency of your AC unit.
- Professional Maintenance: Schedule annual maintenance checks with HVAC professionals to preemptively address potential issues. An annual maintenance checkup by a qualified HVAC technician can help identify and address any potential problems before they escalate into major repairs. During the maintenance visit, the technician will inspect and clean the various components of your AC unit to ensure that it is operating at peak efficiency.
Knowing When to Seek Professional Assistance
Acknowledge the signs and signals indicating the need for professional intervention:
- Visible Damage: If you detect any signs of damage or malfunction post-cleaning, it’s time to enlist professional help. Signs of damage may include bent or damaged fins, leaking refrigerant, or unusual noises coming from the unit.
- Risk Aversion: Avoid exacerbating the issue by attempting DIY repairs, which can lead to further damage and safety hazards. Attempting to repair a damaged AC unit yourself can be dangerous and may void any warranties that are in place. It’s best to leave repairs to the professionals to ensure that the job is done safely and correctly.
Conclusion: Embrace a Summer of Cool Comfort
Regular maintenance is the cornerstone of a seamlessly functioning outside AC unit. By adhering to this comprehensive guide, you empower yourself to optimize performance, enhance efficiency, and prolong the lifespan of your AC unit. Don’t hesitate to seek professional assistance when needed, ensuring a summer filled with refreshing coolness and uninterrupted comfort. Now, go forth and revel in the bliss of a well-maintained AC unit!